This post is the result of about 3 or 4 hours of Googling! There are so many false trails out there that I almost gave up, but I managed to work out how to do this most impossible of things:
Restart Apache from the command prompt (Git Bash, CMD.EXE, batch file) on Windows 10, without receiving the "Do you want to allow this app to make changes to your device" prompt:
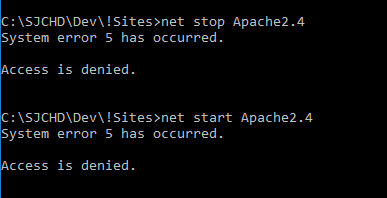
Or without the Access Denied message:
I won’t list all the things that don’t work. There are too many! Here’s how to do it:
First, you need to install Apache as Windows Service (note you must run the Xampp control panel as Administrator to be able to select this):
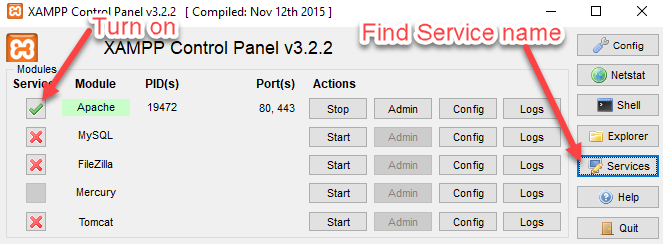
You then need to find out the service name for Apache. It’s probably Apache2.4 but click on Services, find it in the list and double check it.
Next you need to create a Windows batch file called restart-apache.bat, with the following contents (replacing Apache2.4 with the name of the service we just started):
net stop Apache2.4

net start Apache2.4
Don’t bother trying to run this batch file, it won’t work. Both commands will fail with the Access Denied message.
There are plenty of ‘solutions’ out there to make this work, including creating a shortcut to the batch file and setting run as Administrator in the properties. That sort of works, but you still get the "Do you want to allow this app to make changes to your device" prompt (minimized, requiring a mouse click to open).
So forget all of those solutions. Except for this one, that tells you how to avoid the UAC prompt using the Task Scheduler.
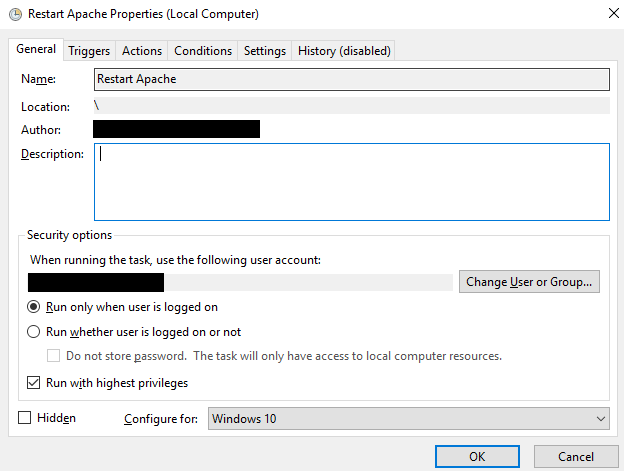
We won’t follow that exactly, but go through steps 1 to 6, setting up a task called Restart Apache, setting it to run with the highest privileges and configuring it for Windows 10.
Instead of entering %windir%\System32\cmd.exe as the action in step 7, just enter the path to the restart-apache.bat file we created above. There’s no need for any optional arguments in step 8.
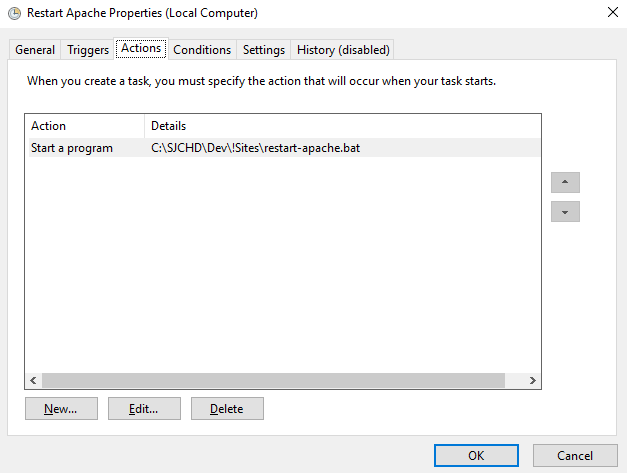
Note: You can set it up to run the batch file using cmd.exe and start as per the article, but it doesn’t close after restarting Apache – running the batch file directly will close itself when done.
Keep going through the remaining steps to make sure it works when you’re laptop’s not plugged in and to create the shortcut to the scheduled task we just created. It’s probably sensible to save the shortcut in the same folder as the batch file so everything is kept together.
You obviously need to change the name of the service to the one we created above ("Restart Apache" unless you named it something different).
Click next and name the short cut restart-apache. You won’t be able to see it, but it’s extension is .lnk so we can access this shortcut via restart-apache.lnk.
You can test it out right now by double clicking on the shortcut:

There’s probably no need for steps 16 to 22. We don’t really need it to have an icon as we’ll be calling it via the command line anyway, rather than clicking on it.
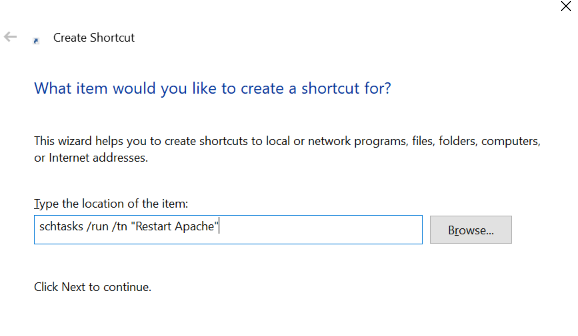
Speaking of which, you run it from the command line using the following command (adding the path to the file name if you’re not in the same folder):
start "" "restart-apache.lnk"
That should work in CMD.EXE, a batch file, Git Bash, etc. I think the Windows Subsystem for Linux supports Start, but it seems like there are some hoops to jump through.
Anyway, that’s it! Go start using it in all your scripts!